

Moving is most certainly a challenging task. With so many rooms in your home to pack and move, you will often find yourself overwhelmed and even frustrated just thinking about the endless amount of work and things to do.
Packing efficiently and correctly is a vital component for a successful move. Of all the rooms in your house, everyone agrees that kitchen packing and moving is the most stressful part of the entire move.
With that said we at Victory Van Moving have put together this useful checklist and helpful tips for your kitchen packing and moving should you decide you want to perform this part of your moving adventure on your own. READ ON!
There are just so many items of different shapes and sizes in each little drawer and cupboard, and it can feel like an eternity to sort it all.
To make packing a little less stressful and save time, try some of these helpful tips:
1. First Things first, get parking supplies.
Your kitchen is sure to contain a lot of easily breakable items. You need to take good care of your breakables so that they reach their new kitchen safe and sound. Moreover, safe transportation is clearly unthinkable without high quality packing supplies.
You should begin collecting paper for packing fragile items few weeks before you start your packing. Save all those newspapers, flyers, and coupon mailers you won’t use. You’ll definitely wish you had later!
If you’re looking for free boxes for small things, check with your local liquor stores. These boxes are usually segmented for bottles and are great for glasses, vases, cutlery and other utensils or knick-knacks.
And if you want to save yourself the hassle of driving around town looking for those things, Victory Van, your local UHaul or even Home Depot all sell boxes and other packing supplies.
Suggested Packing Materials
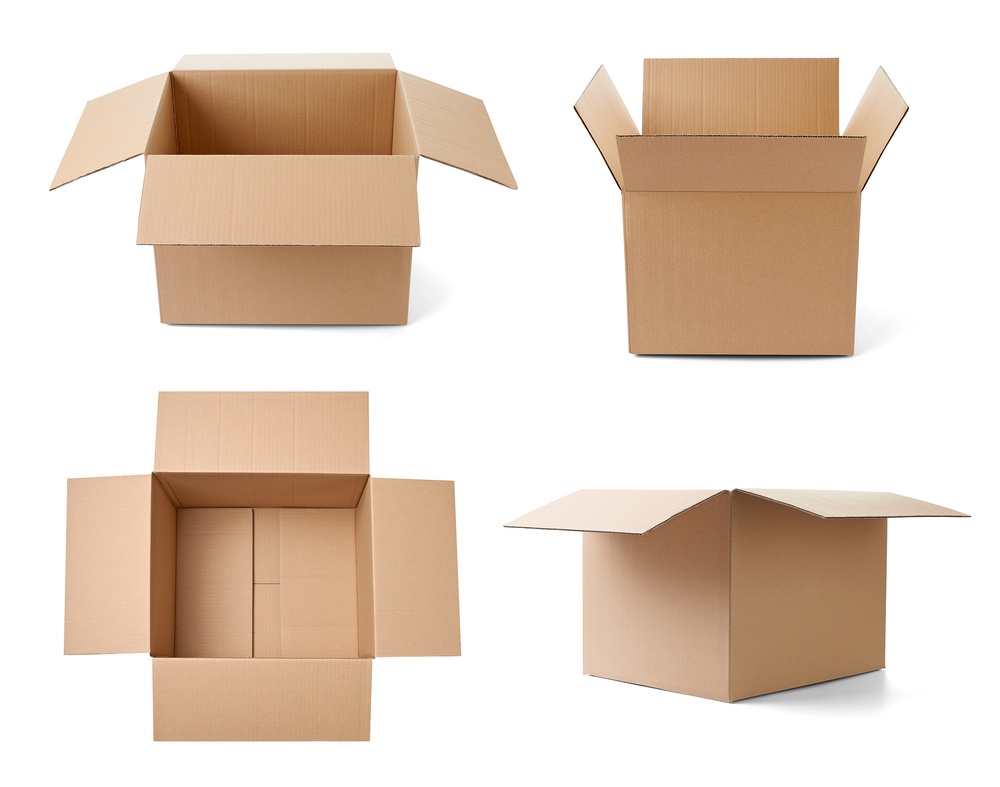
i. Large boxes:
Pack larger, lightweight things in these, such as baking pans, dish racks, or your small appliances. Put the toaster and coffeemaker in the essential box. Do not overfill these boxes, because they can get to be too heavy and rip open when lifted.
Mark the box with your coffeemaker as “Open First”!
ii. Medium boxes:
Use these for heavier things, like your flatware, cooking utensils, pots and pans, and drawer contents.
iii. Heavy-duty boxes:
These boxes have double layers to protect fragile items like your dishes, glasses, stemware, and any other glass items.
iv. 5lb bundle of tissue paper to avoid stains:
If you are willing to spend a few extra bucks, don’t use newspaper. The ink gets all over your things and can stain them. Buy unprinted tissue paper for wrapping fragile items. You can find this at most home improvement stores or in the packing supplies department of a hardware store.
v. Cardboard dividers:
These handy dividers fit in boxes to keep glasses and wine bottles safe. You can also use them for other glass objects in the kitchen. Be sure to buy dividers that fit correctly into your boxes. You can find these at a packing supply store like your local UHaul or even at Home Depot.
vi. Quality packing tape:
Do not waste your money on bargain brands. They will not stick firmly and they often shred while you try to unroll them. Get a roll of packing tape and a hand-held cutter. You’ll be happier in the long run.

vii. Labels:
For convenience, use color-coded labels for each room. Make sure each box is clearly marked where it goes. Sometimes it is even helpful to write a reminder of what’s inside the box.
viii. Several large black markers:
Write the contents of each box in neat, legible writing. Extra-large Sharpies are best for this!
2. Get down to Sorting.
When you have gotten all the supplies you will need, the next step is to sort your kitchen equipment.
Sorting is part of the packing process that you just can’t go without. Why?
Well, first of all it, it’ll refresh your memory by exposing how much stuff (some of it totally useless) you have accumulated through the years. And secondly, it’ll give you the chance to select only the items that you will really need for your new home.

It’s the perfect opportunity to purge any unwanted or worthless items so that your new kitchen becomes tidier and more practical than the old one.
Go through each drawer, cupboard and cabinet, empty their contents and begin the sorting process on the kitchen table – one pile for things you’re moving with you, another for the things you’ll give away to friends, neighbors or charity organizations , and yet another pile for all the stuff that will soon be thrown away as garbage.
3. Make A Simple Box For Essentials.
Between leaving the old house and moving into the new, you may have a couple of days or even a couple of weeks. Set aside a box for essentials such as dishes, cups, flatware, dish cleaning supplies, and little appliances. You will save time by having things handy when you have to make a quick meal during the transition.
Do not forget to add a bottle of wine for refreshment. Moving can be stressful!
4. Packing your Dishes.
Wrap all your dishes, plates, and glasses. Pack them upright in boxes, not stacked.
Pack your glasses in kitchen glass boxes, individually wrapped. Ensure the boxes aren't too heavy or overloaded before packing in the moving truck.
5. Packing your Knives.
Take all of the butter knives and group them together in one pile. Do the same for steak knives. If you have chef’s and/ or carving knives, separate them for packing.
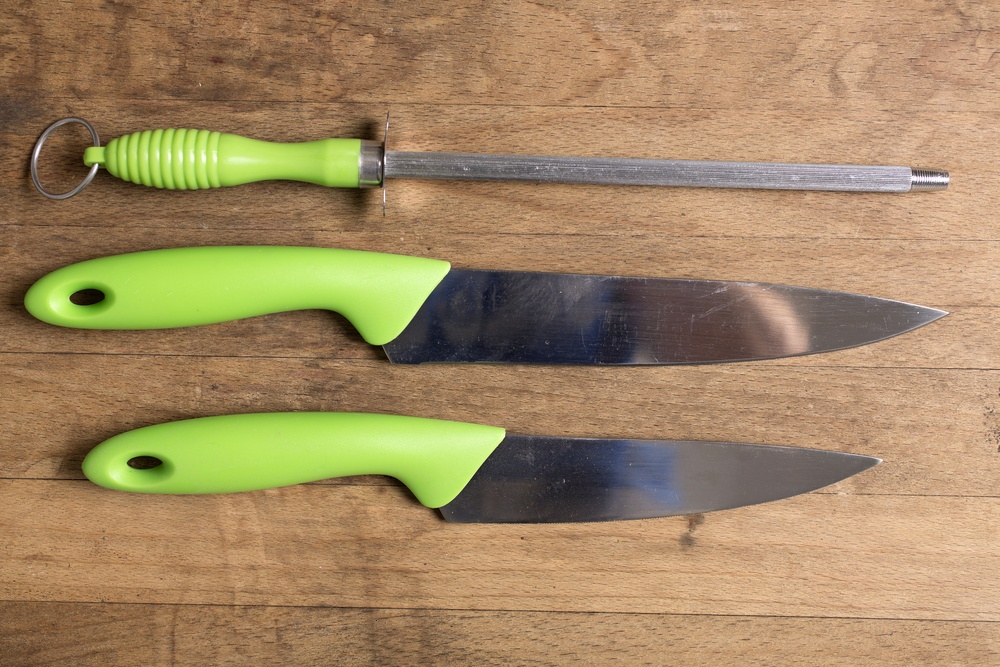
Prepare a small moving box with newspaper on the bottom. Wrap each kitchen knife individually with newspaper. Secure rolls of 3-4 knives each by wrapping packing tape around a bundle.
Place knife bundles into moving box. Label "kitchen knives."
6. Glass bottles.
Pack unopened wine or liquor bottles in a box with a cardboard separator. Do the same for sealed bottles of cooking oil and glass bottles of special condiments or vinegar.

Give open bottles to friends or discard them. Remember, if your things are going to be in storage any length of time, wine may not last through the heat (depending on the season).
7. Shelves and drawers.
Since you have already decluttered them, they should be easy to pack.
8. Pots/Pans.
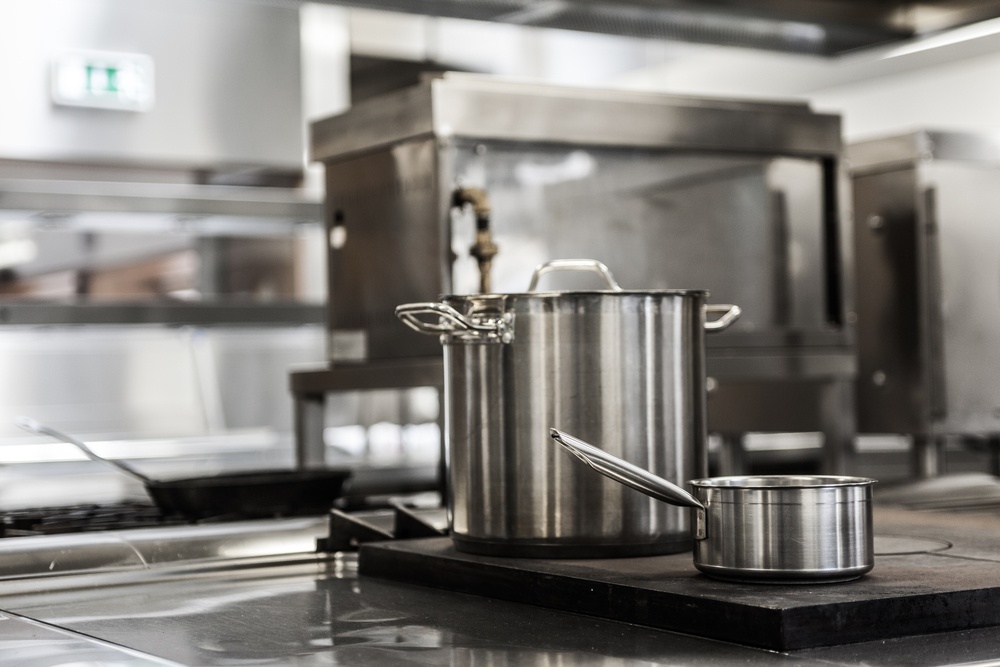
Use a large box for any pots and pans. Place a layer of crumpled newspaper or packaging peanuts at the bottom of the box.
Take the largest pot or pan, and place the smaller-sized pot within it, pushing down the packing material. Continue to follow the same steps.
Once a set is stacked, place newspaper to cover the top.
9. Fragile Kitchen Items.
When packing your dishes, we strongly recommend you wrap the plates individually in clean packing paper using multiple sheets for protection.
Stack those plates of the same size on top of one another with a layer of packing paper between each plate.
When packing the wrapped plates do not pack them flat, but rather pack them on their edges. When you pack your bowls with lids, wrap the bowl in paper sheets, place the lid upside down in the bowl and then wrap the entire ensemble together in more packing paper sheets.
Lastly, wrap your glasses and cups individually and be sure to protect all the handles with extra paper, and then place them in the box upside down.
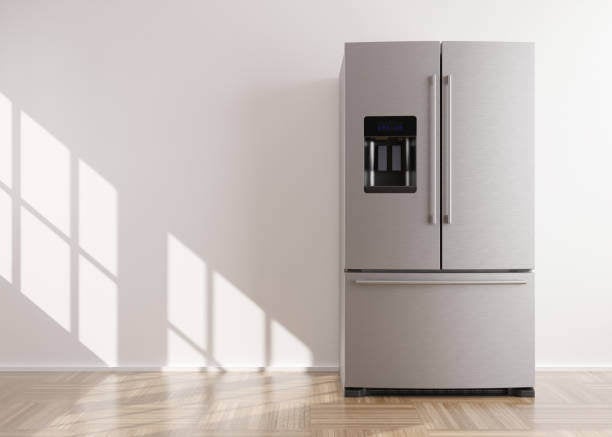
10. Heavy kitchen appliances.
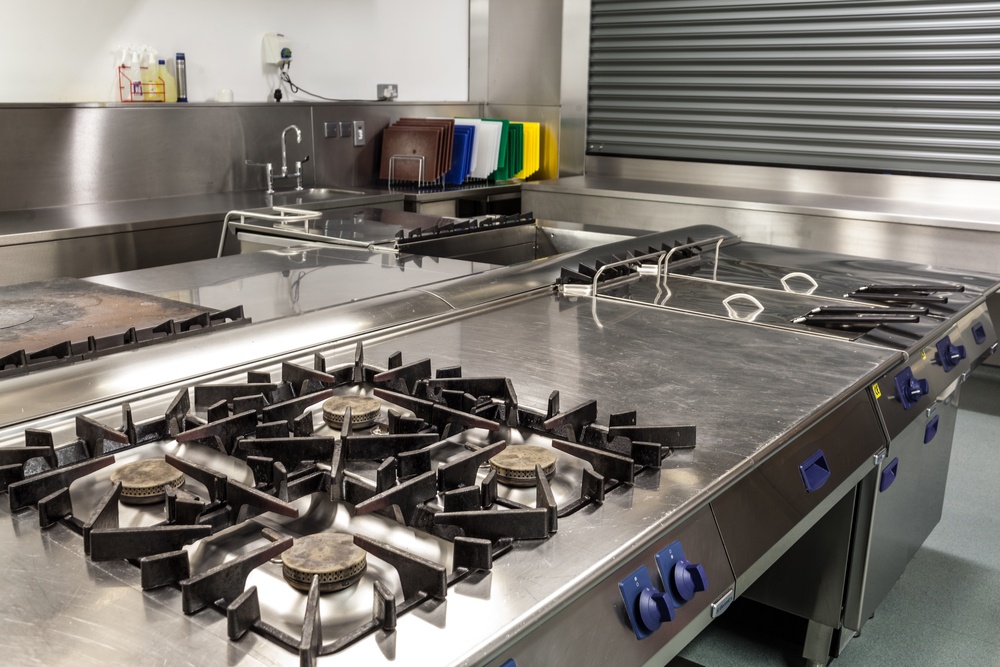
Do not try to be a hero and lift your refrigerator, freezer, washing machine, dishwasher, cooking stove, microwave oven, etc. on your own. If you’ve hired professional movers, they will do that strenuous task for you. If you’re moving by yourself, be sure to ask friends for help and get the necessary equipment, such as a dolly.
11. Small Appliances.
When it comes time to wrap your small appliances, like your toaster, blender or coffee maker, ensure you wrap and pack them all individually with lots of crushed sheets of paper or bubble wrap around them.

Be careful to attach the cords to the appliances if they are separate so you don’t find them missing at the end of your move.
12. Instructions for Packing Food.
Be smart. Do not take any perishable food items with you since they do not travel well at all. Give them to the neighbors. You only want to take those items that you are certain will travel well.
Use packing tape to close up any open boxes or bags of dried foods like rice and pasta. Ensure that they are sealed up tightly.
Be certain to place any liquid food items you have that can easily spill during the move into plastic seallable bags and then wrap the bag with additional paper to prevent them from breaking.
Why move with Victory Van?
You might be overwhelmed by the amount of work to be done when packing, especially the work needed to pack up your kitchen. Don’t worry! While this may seem like a lot of work, our professional experts here at Victory Van Cooperation will help to make your move a breeze.
We take pride in providing all our clients with our top of the line, moving, packing and storing services and are always on hand to answer any questions and give any direction needed.

Further, if you find that you prefer to have our professional team of movers handle all your kitchen packing and moving then worry no more! We’re here to do that for you.
Just contact us and we’ll take care of all your valuable kitchen equipment.
Call us today at 1-800-572-3131 or click below for your free online moving quote.


