


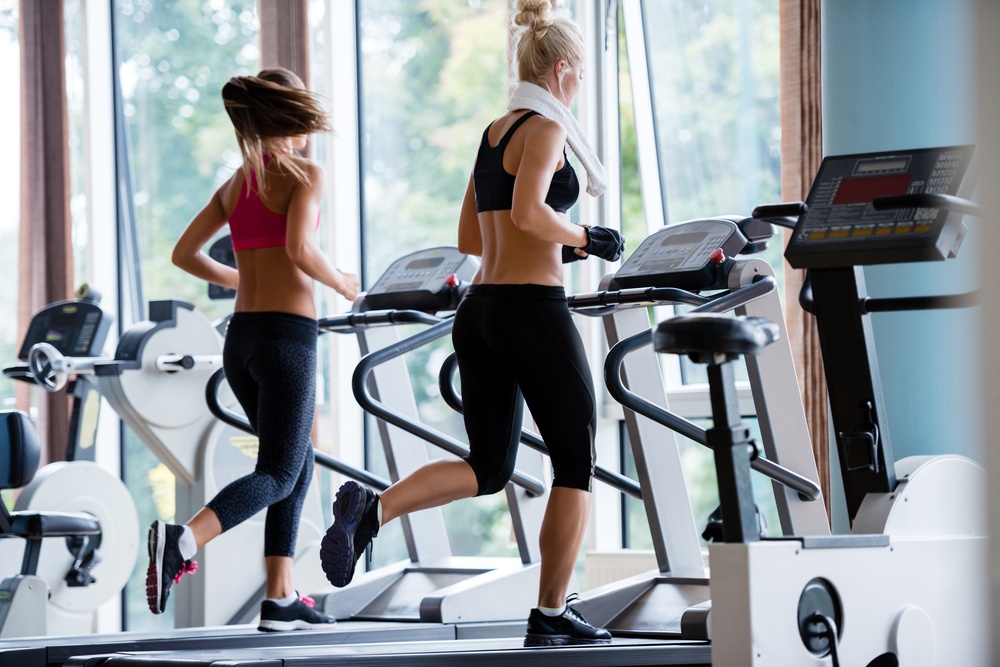
If you really want to keep fit and healthy by working out, moving to a new home means having to figure out how to move your heavy gym equipment.
In this blog we have outlined some steps for you to take when you want to move your gym. READ ON!
Whether it’s as simple as a yoga mat or as complicated as a treadmill and heavy dumbells, arranging your gym equipment isn’t going to be a walk in the park. There’s a right way and a wrong way to move your workout gear.
Victory Van has been moving people around the world since 1945 and we've learned a thing or two.
Below you can read how to safely and effectively move your gym equipment.
1. Ensure all gym equipment is germ-free.
Firstly, it’s particularly important to sanitize and properly clean everything in your gym before the move.
You may think that the germs on your foam roller won’t somehow get to your sheets, but once it’s all in a moving truck together, things might get messy.
By sanitizing your equipment, you won’t bring any sort of sweaty, disease causing bacteria with you into your new apartment.
We suggest:
• Wiping down your yoga mats and yoga accessories by grabbing paper towels and wiping with either an all-purpose cleaner or an all-natural spray solution. You can also purchase a cleanser specifically designed for yoga mats and tea tree oil also works great.
• Thorough cleaning of all handrails and surfaces on your treadmill, elliptical, weight machines and other workout equipment.
To clean your gear, we suggest using wet wipes or your own homemade solution. Alternatively, you can mix a 50/50 solution of water and white vinegar in a spray bottle.
• Washing towels and blankets on a hot water cycle in the washer.

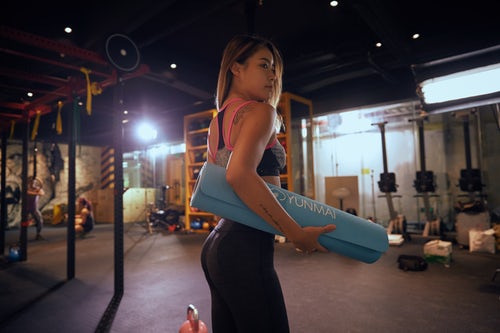
2. Moving your yoga mats.
When packing up your home gym, start with the items that weigh less first. Start packing your yoga mats and accessories, including yoga blocks and gym towels and blankets.
Once you’ve located all of your yoga equipment, find several boxes large enough to hold all of your belongings.
Save space by first rolling your yoga mat from top to bottom. Then secure the mat with a carrying strap or a carrying bag before packing them into the box. This will also keep them clean and tidy while on transit to your new house.
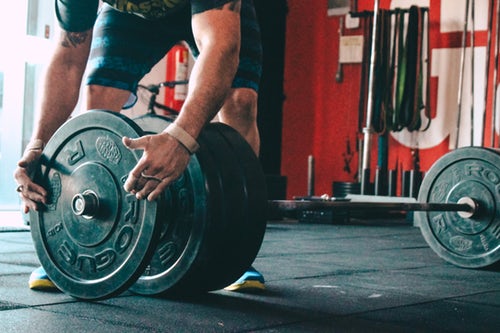
3. Moving your hand weights, dumbbells and barbells.
Whether you own multiple pairs of heavy weight plates or a few light hand weights, it’s important to make sure your moving boxes are strong enough and are of good quality to handle their weight.

Note! it’s better to use lots of small cardboard boxes rather than trying to stuff everything into one large box.
This will help to distribute the weight of your equipment evenly and will help keep the bottom of your boxes in place.

If your cardboard boxes aren’t sturdy enough to hold your weights, we strongly suggest purchasing plastic bins, like Victory Crates, to handle the load. Once you’ve found the right boxes, wrap your weights in bubble wrap or newspaper to keep them protected when relocating.
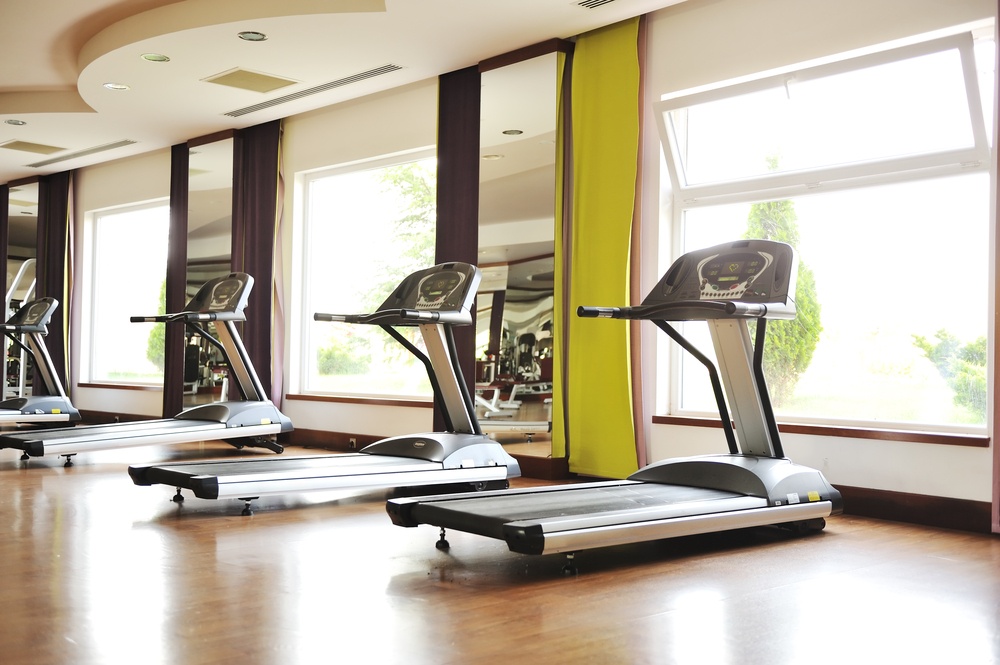
4. How to Move your treadmill.
Moving large workout equipment is truly a workout, in and of itself! Thankfully, there are a few ways to make your treadmill moving experience less taxing.
The following steps can be taken;
Step 1: Get the Treadmill ready.
For a start, know the particulars of your treadmill. How heavy is it? Do you still have the manual (if not, can you find it online)? Is there a visible lock/unlock mechanism?
If your treadmill is more than 50 pounds, you’ll need someone to help you lift and if it’s over 100, a furniture dolly is pretty much a necessity.
If there’s no visible locking mechanism, double-check that manual to see if there’s a hidden one, and if there’s not, get ahold of some moving blankets.
Step 2: Disassemble Your Treadmill for Moving.
Power down and unplug your treadmill, disconnecting all wires from the wall. Search your owner’s manual for instructions on how to fold down the standing section of the treadmill.
Depending on your model, the belt section of the treadmill may fold up instead. If this is the case, you’ll fold the larger section up, and you’ll need to take extra care when transporting it to avoid damages.
Follow the directions, and be sure to lock it down so it doesn’t move during transit.
Step 3: Move the Treadmill with a Furniture Dolly.
Set the furniture dolly beside the treadmill. Stand on one side of the treadmill and have your moving assistant stand on the opposite side.
Carefully, and being sure to lift with your legs, lift the treadmill simultaneously with your assistant, and slowly move it to place it on the furniture dolly.
Step 4: Transport the Treadmill.
Once it’s securely on the dolly (make sure it’s centered and in a position to fit through doorways), roll it into the moving truck.
At destination, place the mill back on the furniture dolly. Roll it to its new home, remove it from the dolly, and using the same procedure as earlier, unlock it and pull the standing section back up, being sure to lock it into place.
Step 5: Safety Check.
Take a final minute to double-check your operating manual. Make sure everything looks correct, then plug it in, put it on a very low setting (one mile per hour works) and test it.
5. Moving your elliptical.
Unlike a treadmill, which simply folds up, an elliptical’s bulky shape can make it especially tricky to move.
Elliptical machines are often awkwardly shaped and unwieldy. In some cases, it's simply easier to disassemble the elliptical’s hardware to make it easier to maneuver through hallways and doorways.
Take the pedals and handlebars apart from the main base of the workout machine using a wrench and screwdriver.
Afterward, collect all of the nuts and bolts, and place them in a plastic baggy and use packing tape to attach it to the machine well labeled to keep them safe and secure.
Once the machine is disassembled, the elliptical should be light enough to be carried by you or with the help of one person. Don’t forget to also cover the equipment in moving blankets to protect it while it’s in transport.
Alternatively, If you want to move an elliptical machine without taking it apart, you'll need at least two movers. The following steps should be taken.
Step 1: Size Up Your Move.
Figure out what kind of move you’ll be doing. If you’re going across the room or staying on one floor, you’ll only need to use the cross trainer’s wheels to move it across the floor (but if you’re rolling across hardwood, make sure you’re prepared for potential floor damage). If you’re doing a cross-town move, read on.
Step 2: Get Your Moving Supplies.
Your moving supplies should include; a furniture dolly (you’ll need it regardless of weight because of their bulky shape), a tie-down strap with a ratchet tie, some furniture blankets if you plan on going around any sharp corners or tight turns, and a Victory Van mover to assist you.
Step 3: Tie down Your elliptical for a safe Move.
Unplug your machine and get started. Lift up the base of the elliptical on one side to slip the tie down strap underneath, then close it over the legs of the machine (just above the footholds). Use the ratchet tie to tighten it until the legs are secure (neither the legs or arms should move if this is done properly, but be careful not to put too much pressure on the arms to avoid damage).
Step 4: Load up the truck.
Set the furniture dolly beside the elliptical. Stand on one side of the elliptical and have your moving assistant stand on the opposite side.
Carefully, and being sure to lift with your legs, lift the elliptical simultaneously with your assistant, and slowly move it to place it on the furniture dolly.
If you’re going to be going around any sharp turns or are worried about a tight fit through a door, wrap the elliptical in moving blankets to protect it (and your walls). It’s also a good idea to wrap it if you’ll be putting it into a large truck.
Need to take it up or down a flight of stairs? Make sure you have at least three people – two to lift and one to spot – and lift with extreme caution
Step 5: Move Your Elliptical Trainer.
Carefully move your elliptical to its destination. Make sure to tie down the elliptical if it’s going to be transported in an open truck.
Step 6: Get Your Sweat On.
Once you’ve reached your destination, carefully lift the elliptical off the furniture dolly and set it in place. Remove the furniture blankets and the ratchet tie, then check to make sure the legs are back to functioning normally.
Plug it in and test it on a very low setting to be sure it’s working.
6. Moving your stationary bike.
Without a doubt, stationary bikes are one of the most – if not the most – popular at-home pieces of gym equipment. Thankfully, moving them into a moving truck isn’t too incredibly difficult. We recommend protecting your bike with a moving blanket.
If you own an electric bike, you’ll need to unplug it and save all cords in a secure place. To move the bike through your house, place something underneath the bicycle to protect your floors – otherwise they could end up with some serious scratches.
For floor protection, we suggest using pieces of cardboard, towels or furniture sliders. You can find these sliders on Amazon, Walmart– among other places.
Once you’ve gotten the bike to the truck, you’ll most likely need one or two people to help lift it up onto the truck.

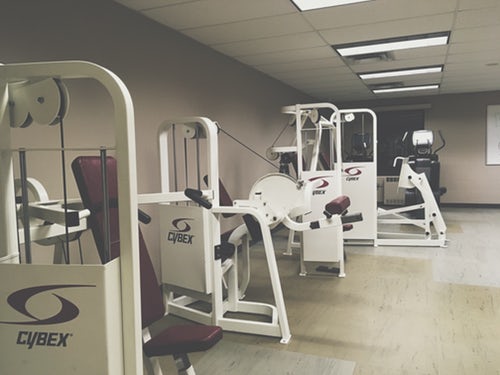
7. Moving Weightlifting Machines.
Often times, when people think of a home gym, they think primarily of a home weight setup. Weightlifting machines present unique challenges in a move.
You'll want to collect the manuals for your weightlifting machines, remove all the weights, and disassemble the equipment step-by-step by;
• Securing hardware (nuts, bolts, and screws) in plastic baggies and tape them to the corresponding piece of equipment. Make sure you don't lose your instruction manual so you can easily put the equipment back together at your destination. If you can't find the manual, you'll want to document the disassembly process with handwritten notes and photos.
• Making sure to secure any moving parts with packing tape, bungee cords, rope, or zip ties, depending on their size and what you have available, as loose parts can damage walls or injure the movers.
• Wrapping oddly shaped gym equipment that doesn't require boxes or crates into moving blankets, bedding or towels to prevent scratches or damage.
• Wrapping weight bars in towels to prevent scratching and to keep the metal bars from damaging furniture and other items during the move.
Why move with Victory Van?
No matter what kind of gym equipment you’re moving, you can count on Victory Van to help. Our movers can rearrange your home gym, help you snag that treadmill, or help bring your new elliptical home.
Just contact us and we’ll take care of the heavy lifting – that way, you can save your muscles for your home gym.
Call us today at 1-800-572-3131 or click below for your free online moving quote.
Happy lifting!


